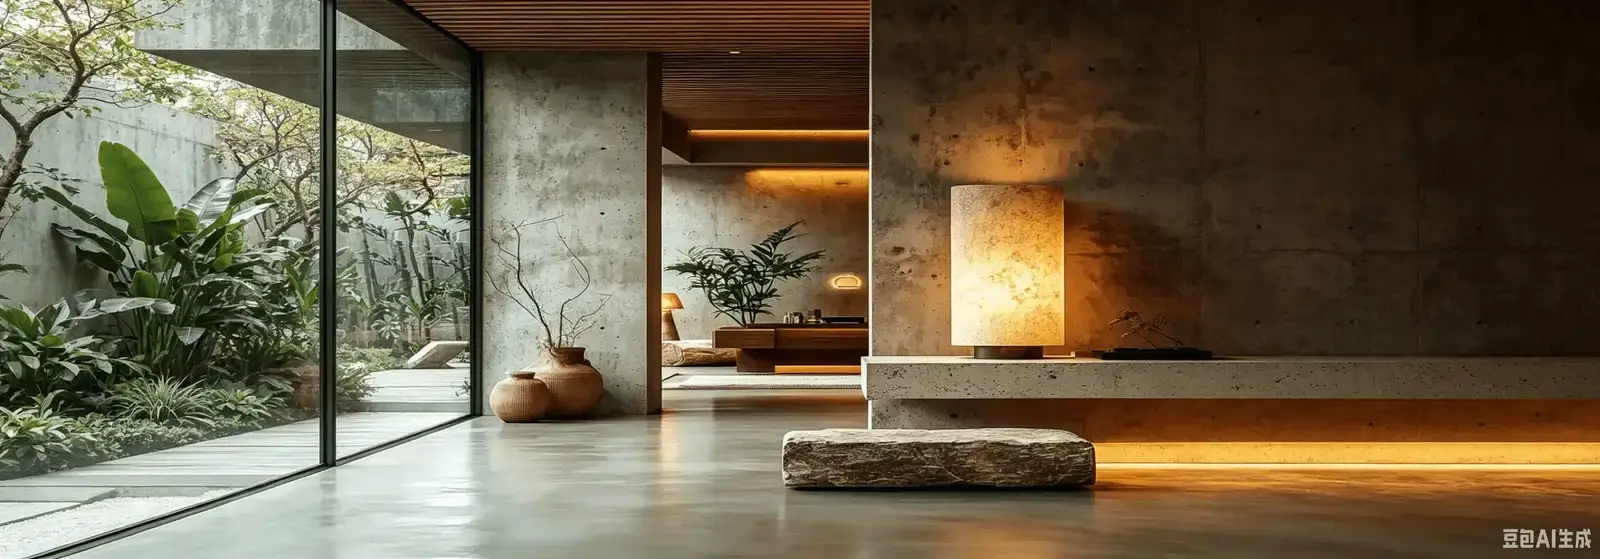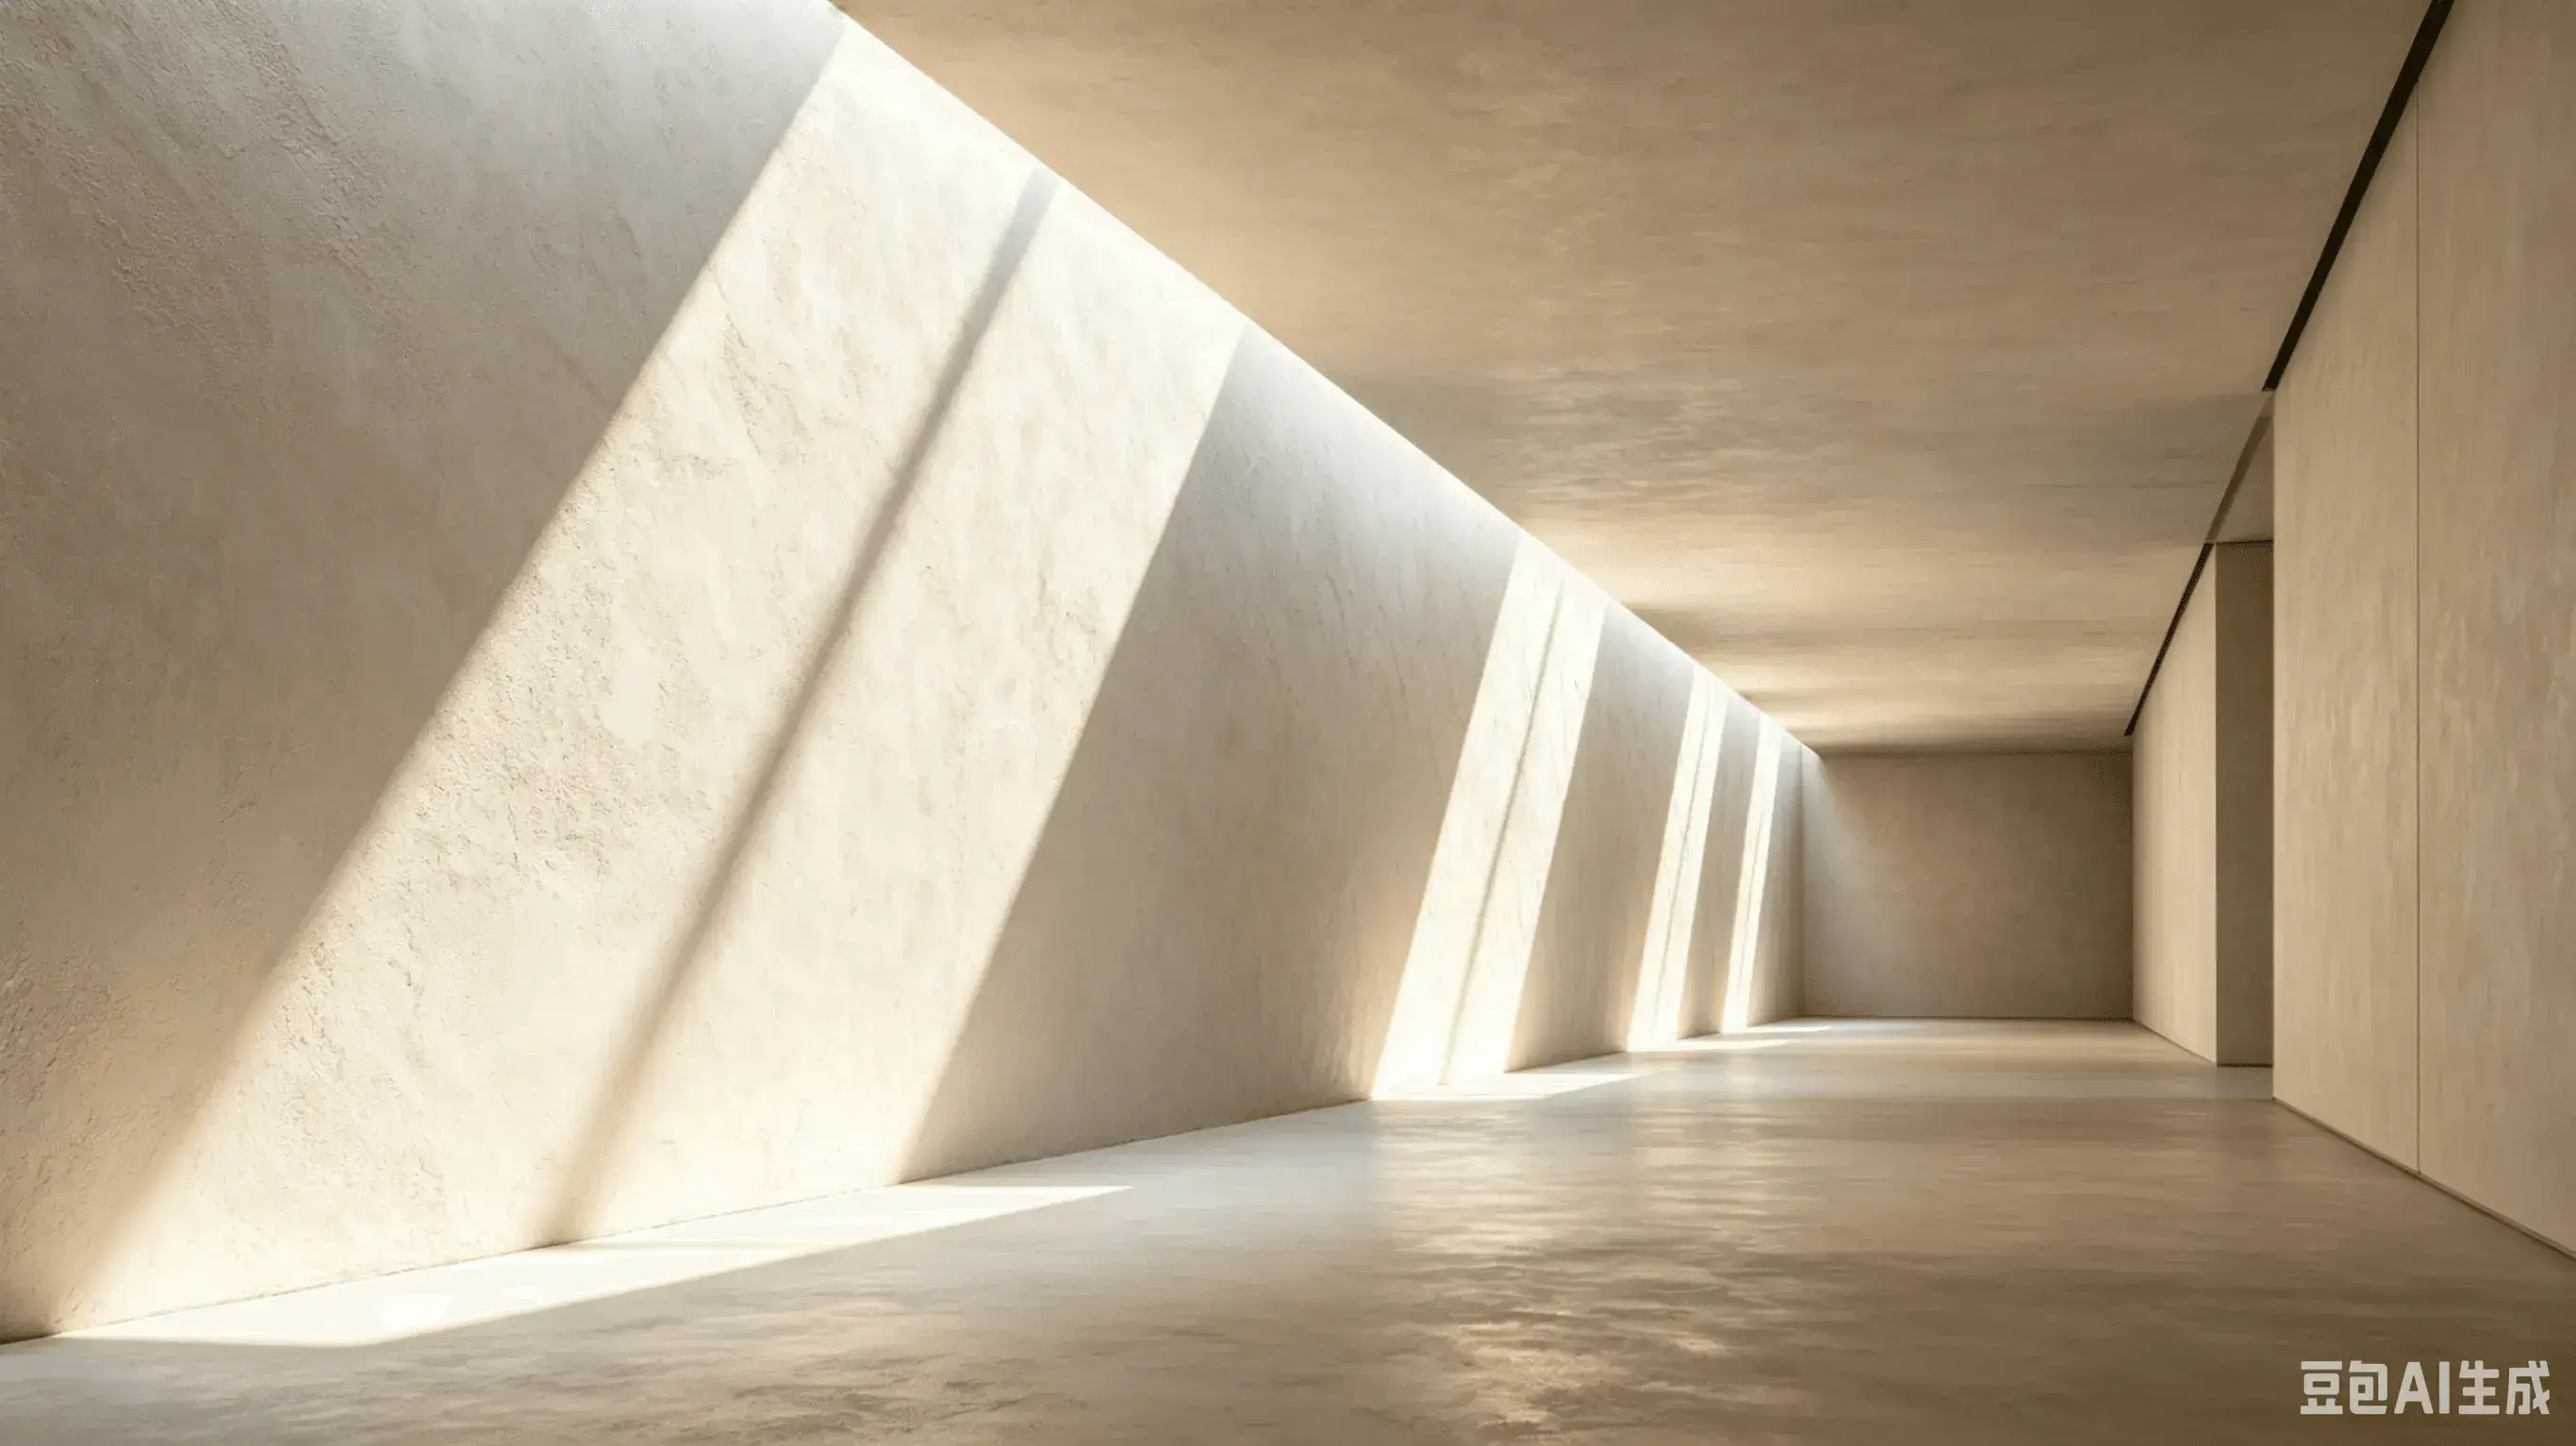
Metallic Finish
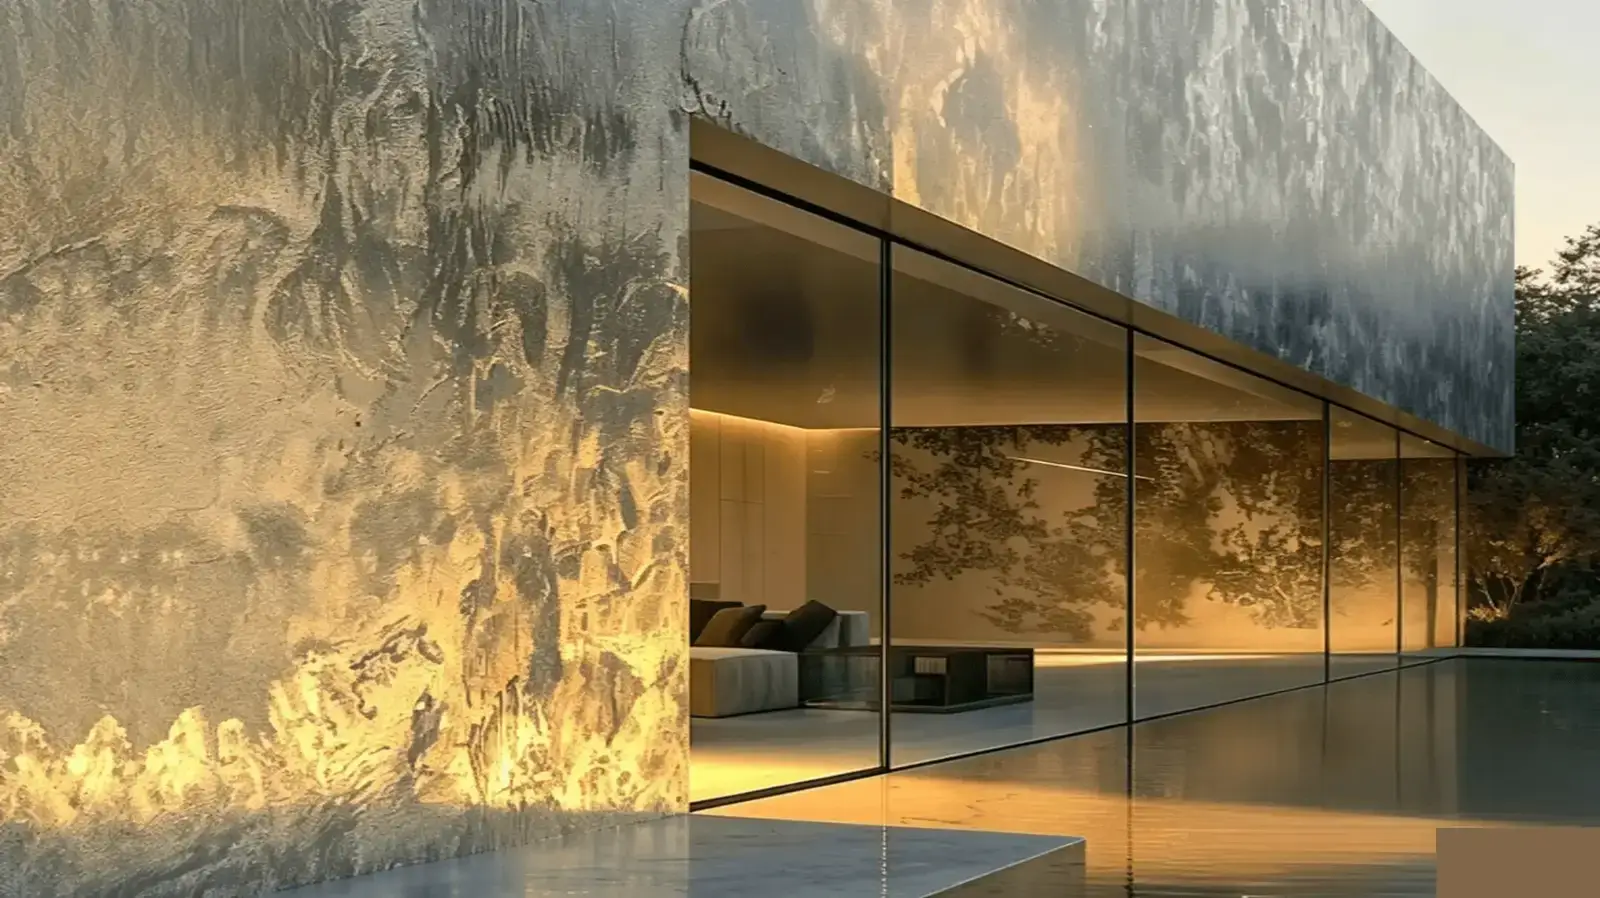
Dramatic metallic finish coatings with light-reactive depth and shimmer. Ideal for feature walls, retail spaces, and commercial interiors. Gold, silver, bronze, and custom tones.
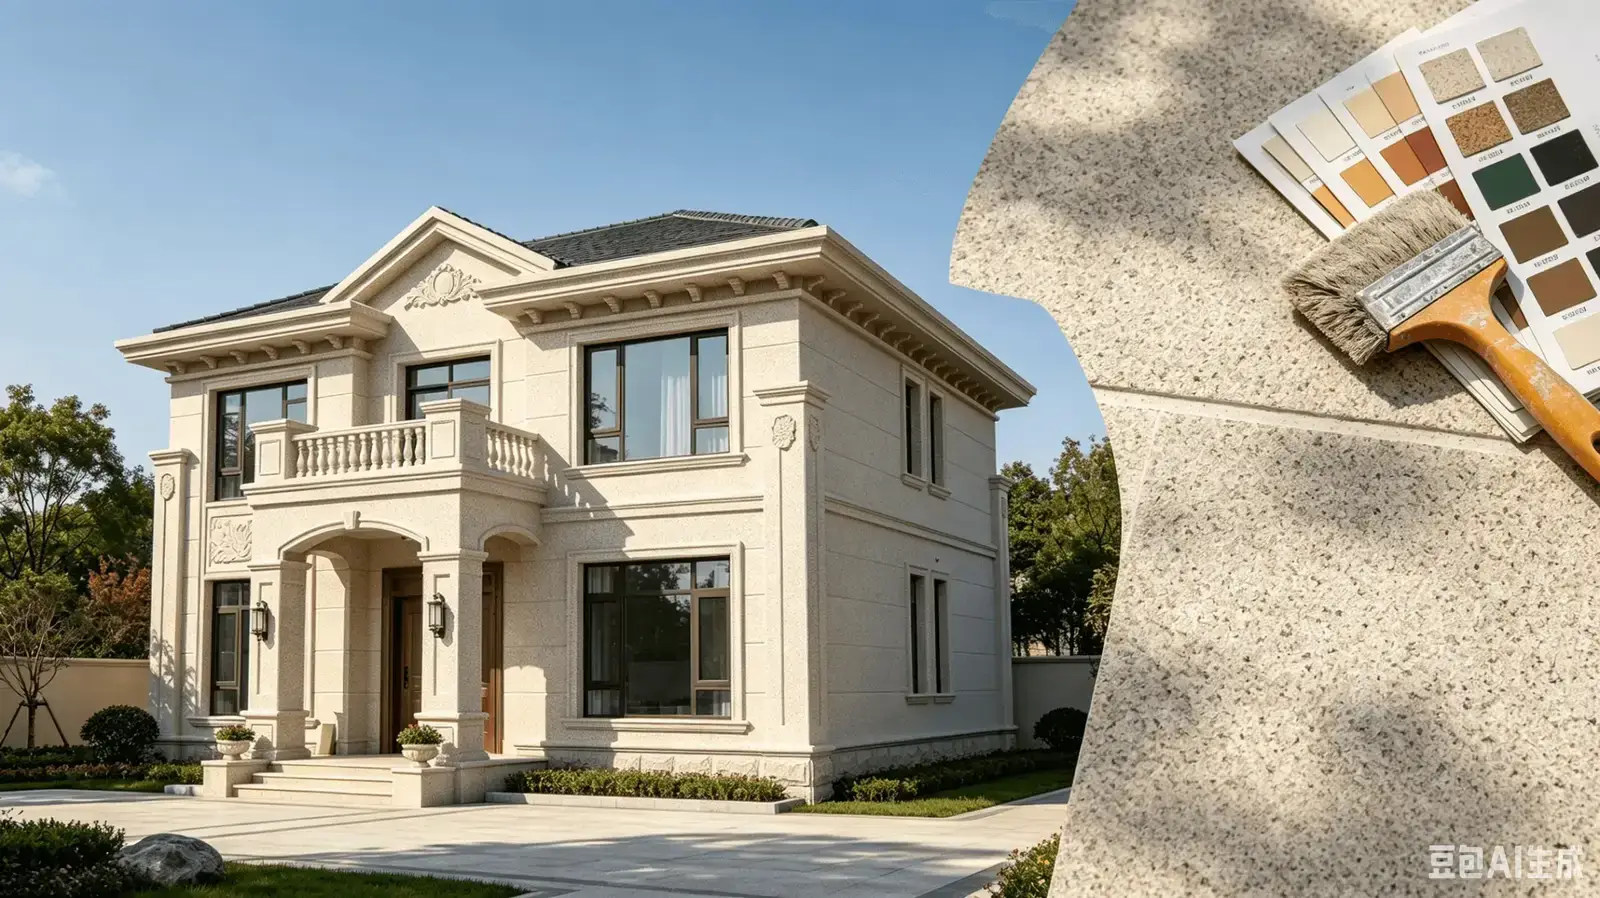
Application Visual
Real project appearance


products.featuresQuestion
- Light-reactive depth and shimmer effect
- Available in gold, silver, bronze, copper, and custom tones
- Mineral-based —breathable and zero VOCs
- Customizable intensity from subtle to dramatic
products.specsQuestion
Color & Texture Options
Metallic Finish 鈥?surface variations


More color and finish options available. Request color card.
Application Process
From surface preparation to final protection

Substrate & Primer Coats
Ensure the wall is smooth, crack-free, and level. Apply one coat of penetrating primer (dilute 1:2.5 if concentrated). Wait 4-6 hrs, then roll 1-2 coats of tinted reinforcement primer for better adhesion.
Tinted primer in a matching base color saves coverage on later coats.

Liquid Metal Texture
Apply liquid metallic paint using one of three techniques: Full-coverage trowel method (thin even coats), Wipe-off technique (sponge dab over dark base for aged effect), or Stippling method (random speckled pattern with sponge/roller). Never apply wet-on-wet.
Keep each coat thin. Thick layers will crack as they dry.

Sanding & Fine Polishing
After 24 hrs drying, start with 800-grit sandpaper for rough sanding. Switch to 1000-grit for fine smoothing. Move the sander slowly and steadily.
Keep the sander moving fast during fine sanding to avoid burning the paint.

Polish & Clean
Polish the surface with rapid, even passes 鈥?don't linger in one spot or the finish will blur. Wipe clean with a dry towel.
A soft cotton cloth works better than synthetic for final polish.

Protective Topcoat
Apply a clear protective sealer or automotive wax to enhance gloss, durability, and stain resistance. This final layer gives the metallic finish its long-lasting luster.
Automotive wax adds extra depth to the metallic effect.
Steps may vary depending on substrate conditions, indoor/outdoor location, ambient temperature, and the specific decorative effect desired. This guide is for reference only. Always refer to the full technical datasheet for your specific product.
Sourcing Support
Sample Available
Request a physical sample to evaluate color, texture, and quality before ordering.
OEM Supported
Custom formulation, your branding, your packaging. We adapt to your product line.
Export Packaging Ready
Standard export packaging with proper labeling and documentation for international shipping.